
Author: Natalie, Natural DIY Enthusiast
DIY Hair Butter is becoming very popular and is a great product to add to your hair care routine. It’s also very simple to make your own with just a few natural ingredients.
With so many different hair textures and types out there, along with a number of cosmetic butters and oils considered the best hair treatments for each type, it’s important to first understand your hair and what will work best for you.
Here is a basic guide to making your own homemade natural whipped hair butter or curl cream.
Hair butter is a blend of moisturizing ingredients applied to the hair to help add moisture, prevent breakage and protect the hair. They tend to be on the richer side, however you can change your ingredients towards lighter or heavier oils, butters and waxes to make them the consistency you desire. If you use the lighter and drier oils and butters, you may find that they can be a good choice for straight or oily hair.
Are you familiar with Andre Walker’s hair typing system? His system uses a scale of one to four. 1 is straight, 2 is wavy, 3 is curly and 4 is curly/kinky. These categories are then divided into subtypes a, b and c. In these categories, “a” represents the loosest texture and “c” the tightest. Different thicknesses and porosities can exist at this scale.
What is hair porosity? It shows how much absorption your hair strands can have. High porosity hair absorbs water immediately but also loses it quickly. Low porosity takes a while to fully saturate, but moisture leaves the hair slowly. Porosity is a spectrum, and your hair may fall somewhere on either end or in the middle. A great way to test this is to place a strand of freshly milled hair in a glass of water. A high porosity strand will usually sink immediately, the low porosity will float and the medium/neutral will stay somewhere in the middle.
Of course, some products will perform better than others in different types. For example, using coconut oil as a conditioner is great for high porosity and not recommended for low porosity. This is because the large molecular structure of coconut oil can stick to low porosity hair and become difficult to remove.
Another thing to consider is the length of the hair. Shorter hair may do better with a wax/balm pomade, while those with longer hair may prefer a wetter, softer, or richer formula.
Personally, I’m 2c/3a with thick hair, high porosity and dry texture, so rich moisture products work well for me. Dosage is key though – using too many of the richer products can make my hair look heavy and greasy. The thing to remember with DIY butter and oil based products is that compared to regular drugstore products, they are much more concentrated, so you only need a little bit. This is what makes them work so well for skin and hair in comparison: they are pure raw materials, so they have concentrated beneficial properties. Since you’re not paying for water or fillers, you use less and usually end up saving money.
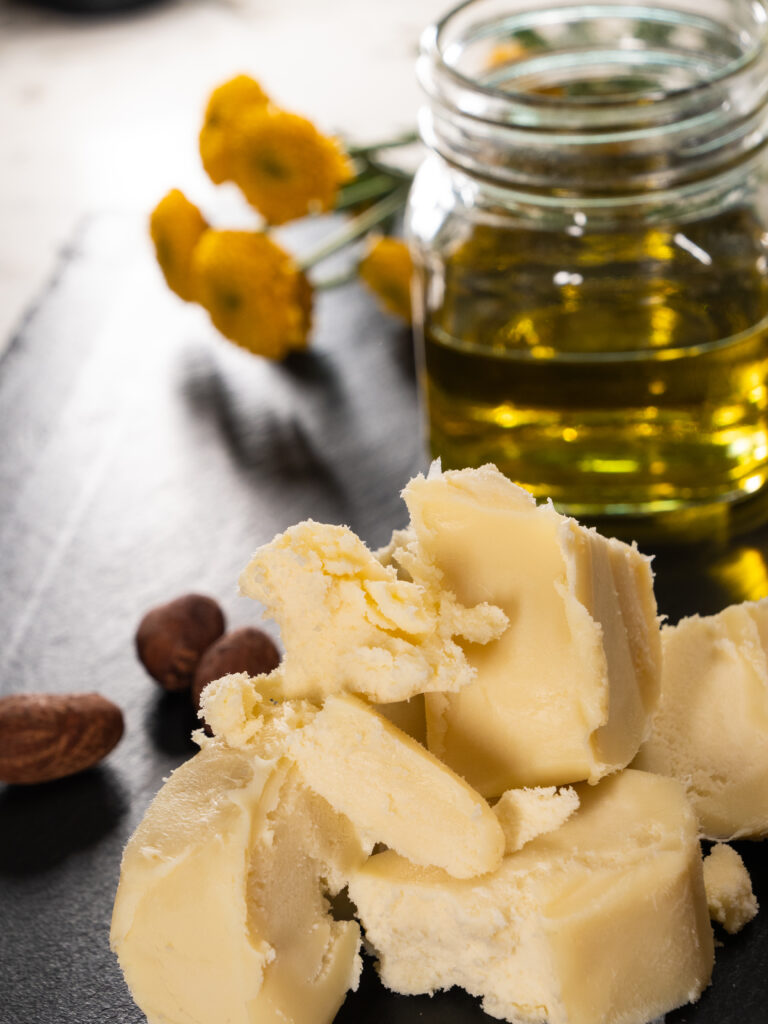
Another thing to consider is the function of the butter, wax or oil you want to use. Some are more moisturizing, some work better as styling agents, some add shine and other oils or provide some hold for easier styling. I never realized that using shea butter or cocoa butter on hair could be so beneficial before I met Better Shea Butter’s beauty butters, but they sink in instantly leaving it moisturized from the inside out.
(So they also work to hydrate even the driest skin that has a hard time hanging on to moisture—it’s my go-to for winter elbows and feet.)
Here’s a list of cosmetic butters in order of my preference from lightest to deepest moisture:
- Mango butter
- Kokum Butter
- Shea butter
- Cupuacu Butter
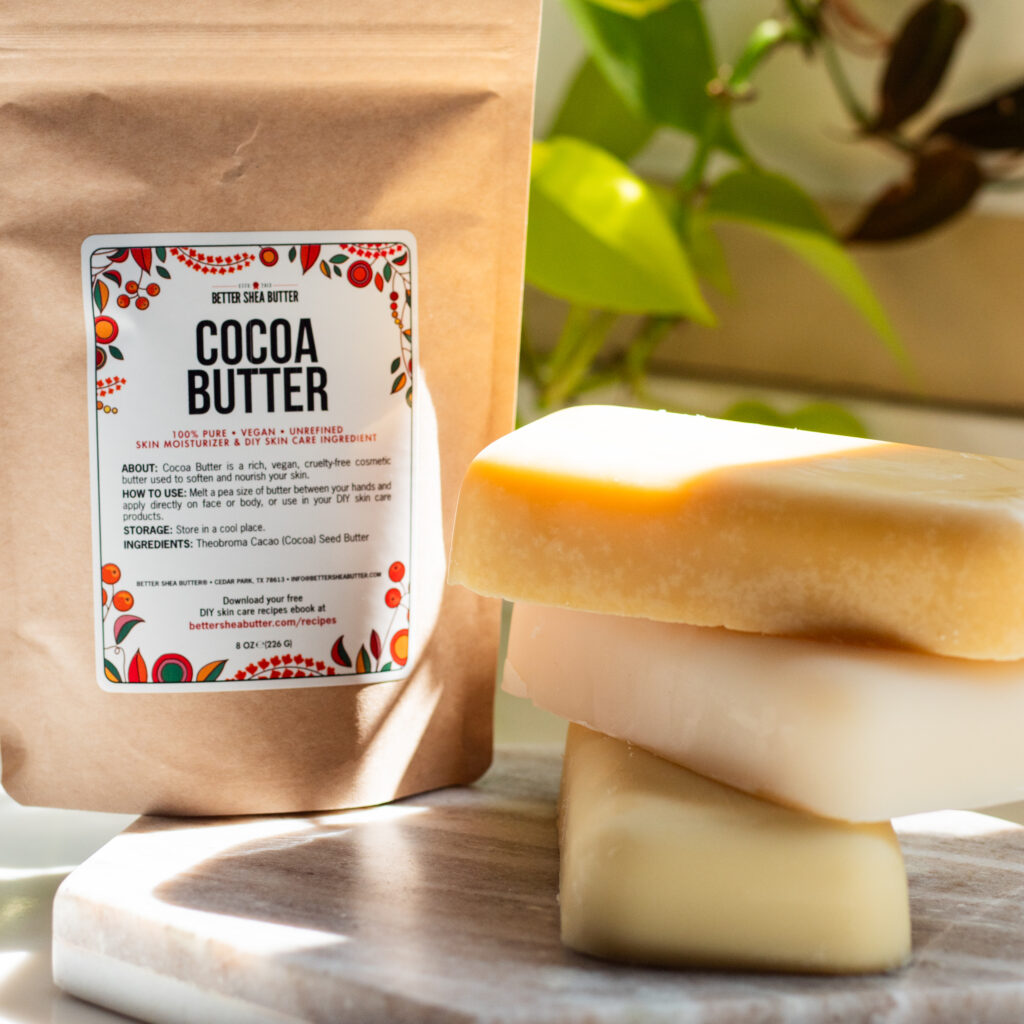
- Cocoa butter
And here is a list of hair oils in order of my preference from lightest to deepest moisture:
- Grape seed oil
- Olive oil
- Apricot oil
- Jojoba oil
- Sunflower oil
- Almond oil
- Coconut oil
- Argan oil
For more styling, frizz control or defining curl butter, I like to use mango butter for its light moisturizing, almost waxy texture and jojoba oil as a balanced oil that isn’t too drying or too conditioning.
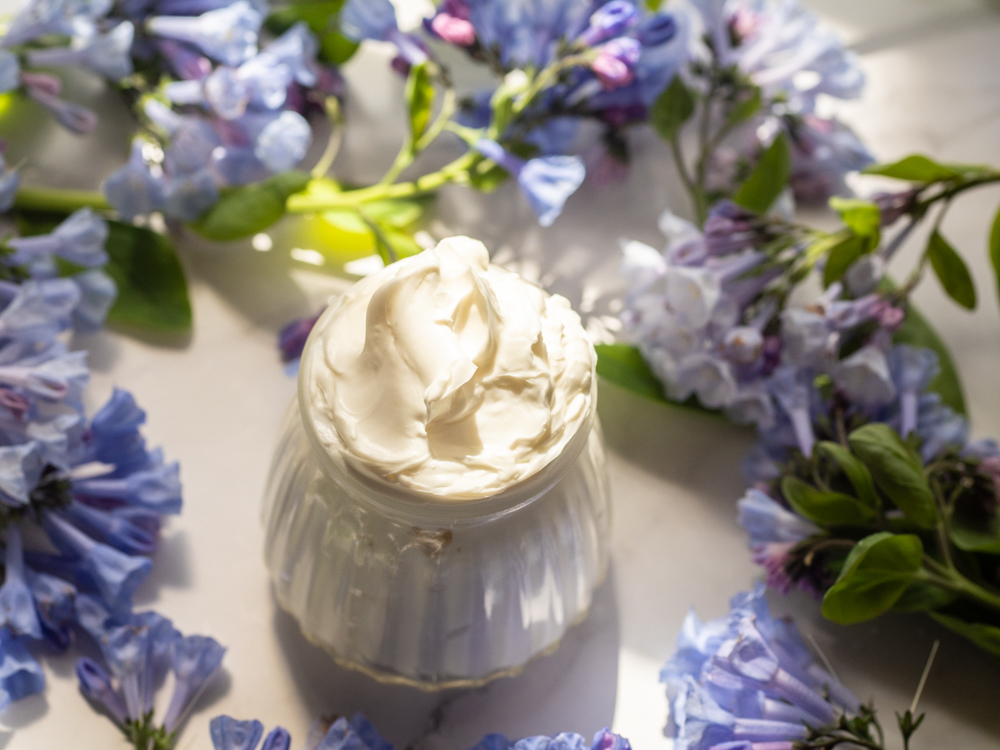
Your hair butter will be a waterless formula, just like our whipped shea butter recipes or other body butters. If you want to make a cream or lotion base, that requires an emulsifier and a preservative, which is a completely different kind of formulation. Formulations consisting of waxes, oils, and butters do not require these additional ingredients and will remain good for about six months when stored away from excessive heat and moisture.
A great way to avoid having to include water in your formula is to apply directly to wet hair, use a hydrosol (floral water) or even a simple mist of water on dry hair first and then lock it in with the butter ingredients hair.
So how do you make your own custom hair butter recipe? This one is easy: first choose your butter or butter combination and carrier oil. You can also add 1-2 tablespoons of your favorite wax for more styling power or for hair/facial beard butters. For more information on calculating butter and oil ratios, see this article here.
Here are some of my personal favorite DIY hair butter recipes. This is designed for my 2c/3a, high porosity, thick and dry hair, but as above you can easily adapt it to your hair type by varying the ingredients.
Deep Moisture Hair Butter or Deep Treatment
(Just a little pea works great when my hair is thirsty)
Daily styling butter
(Perfect for light hold, light moisture. For days that require a little more control)
- 3 oz mango butter
- 1 ounce of jojoba oil
- 1 tablespoon beeswax or carnauba wax (optional)
- 1-2 drops essential oil fragrance (optional)
Instructions:
- Melt the butter and optional wax of your choice in a double boiler
- Remove from the fire
- Wait a minute
- Combine with carrier oil and optional essential oils
- Leave the mixture in the fridge or freezer until it becomes 50% solid.
- Whip to perfection
- Apply to fresh hair or style as desired
I hope you enjoyed this tutorial and it helps you formulate the best hair product for you. Next time in our DIY hair product series, we’ll talk about hair masks and scalp treatments.
Feel free to leave a comment below with any questions or comments you may have.