If you’ve tried making body butters or other body products with butter/oil or even balms (these contain some wax in addition to the butters and oils) in the past, you may have met your first DIYer skin care challenge: sandy or granular products.
I have some tips for you on how to avoid this, but first I want to let you know a few important things.
Grainy body butters don’t break down, they work just as well and the “grainy” texture usually melts on contact with the skin and has the same great end results on your skin.
The crunch is nothing but the fatty particles of butter that can form if your product does not cool fast enoughthe if your product is stored in areas where the temperature fluctuates enough to partially melt and resolidify your product. This can happen naturally in a home where the temperature fluctuates by 10-20 degrees, or it can happen when your product is in transit and sitting on a delivery truck for a few hours or in a storage warehouse (for example UPS or USPS).
Choosing all-natural products that don’t contain emulsifiers, stabilizers and other “chemical” or synthetic ingredients comes at a small price – a possible variation in texture and some graininess. The choice is ultimately yours, but since these products don’t lose their effectiveness and are just a cosmetic flaw, I beg you not to stress if your DIY healthy body butter or natural product has any impurities.
Avoiding granulated butter – Experiment A vs. B
I have made two sets of body butter, one the wrong way (test A) and the other the right way (test B).
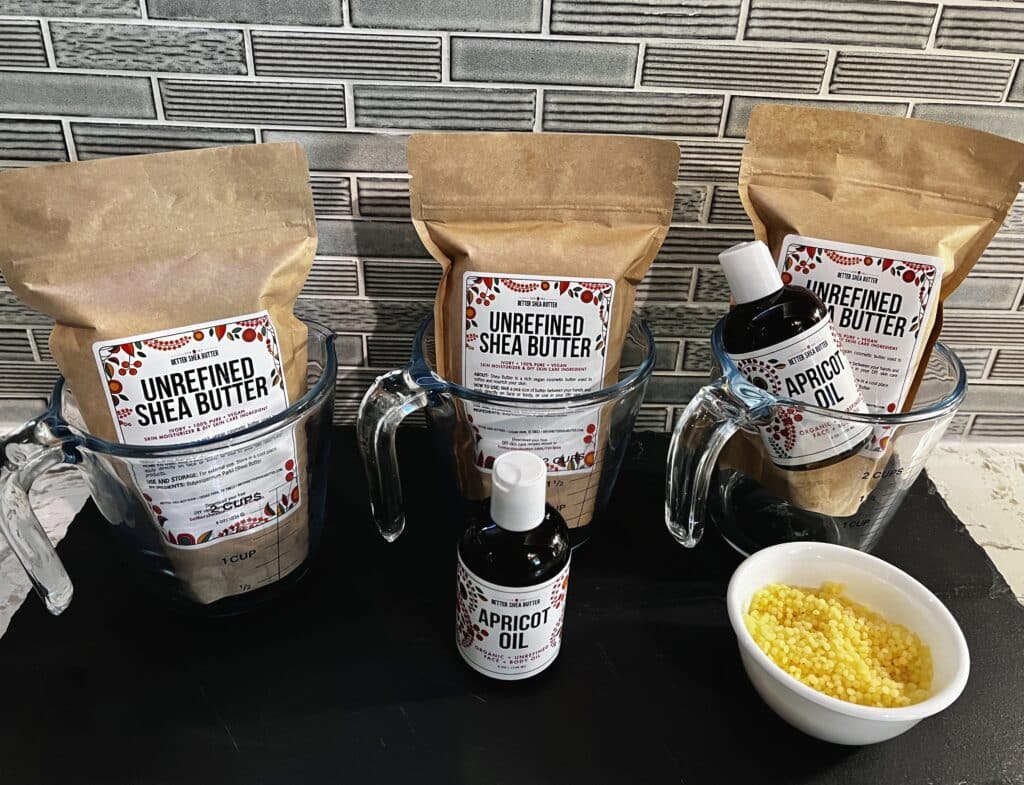
Both sets of butter were made with the same ingredients and simple formulas:
Body Butter #1: Unrefined Shea Butter
Body Butter #2: Unrefined Shea Butter + Apricot Oil
Body Butter #3: Unrefined Shea Butter + Apricot Oil + Beeswax

I chose very common ingredients because for the purposes of this experiment, using one butter or oil over another doesn’t matter. The COOLING system is what will produce either a smooth or coarse finished product.
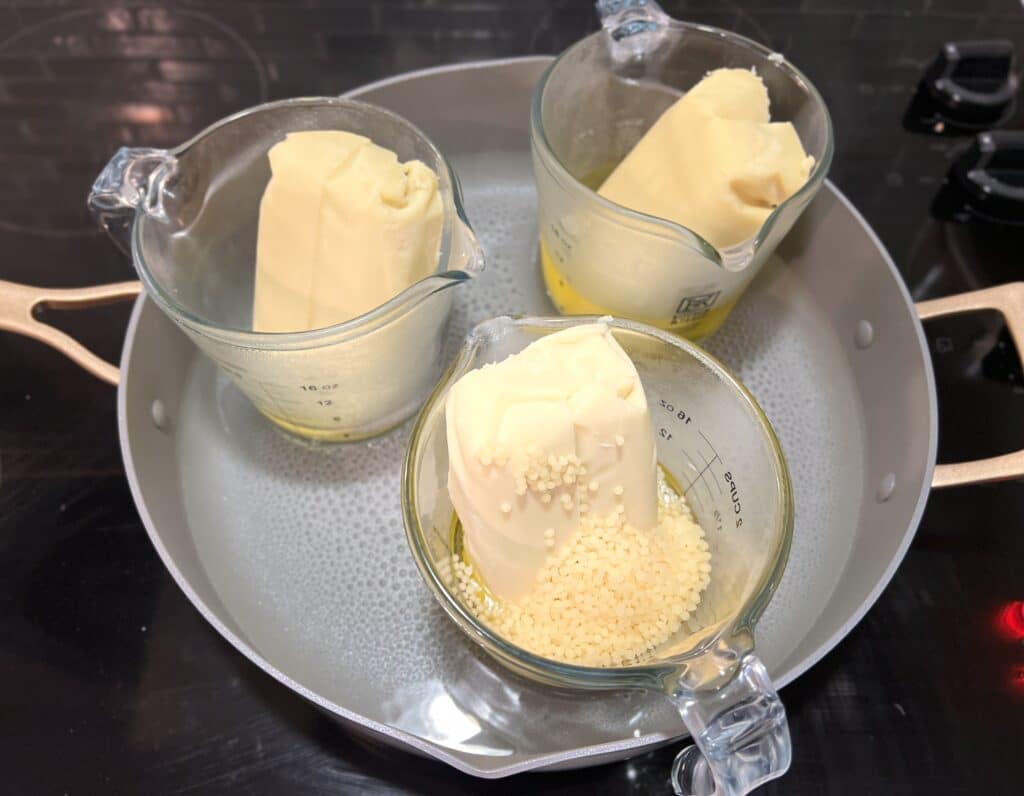
The first step, as with most formulas, is to melt your ingredients. I used a double boiler system by adding about 2 inches of water to a shallow pan. I put it on low heat, and put my 3 ingredient body butter in separate glass containers. I then placed the containers on the baking sheet.


I let everything melt completely. Body Butter #1 and #2 melted quickly, about 15 minutes. The 3rd took almost 45 minutes of constant stirring to melt the beeswax.
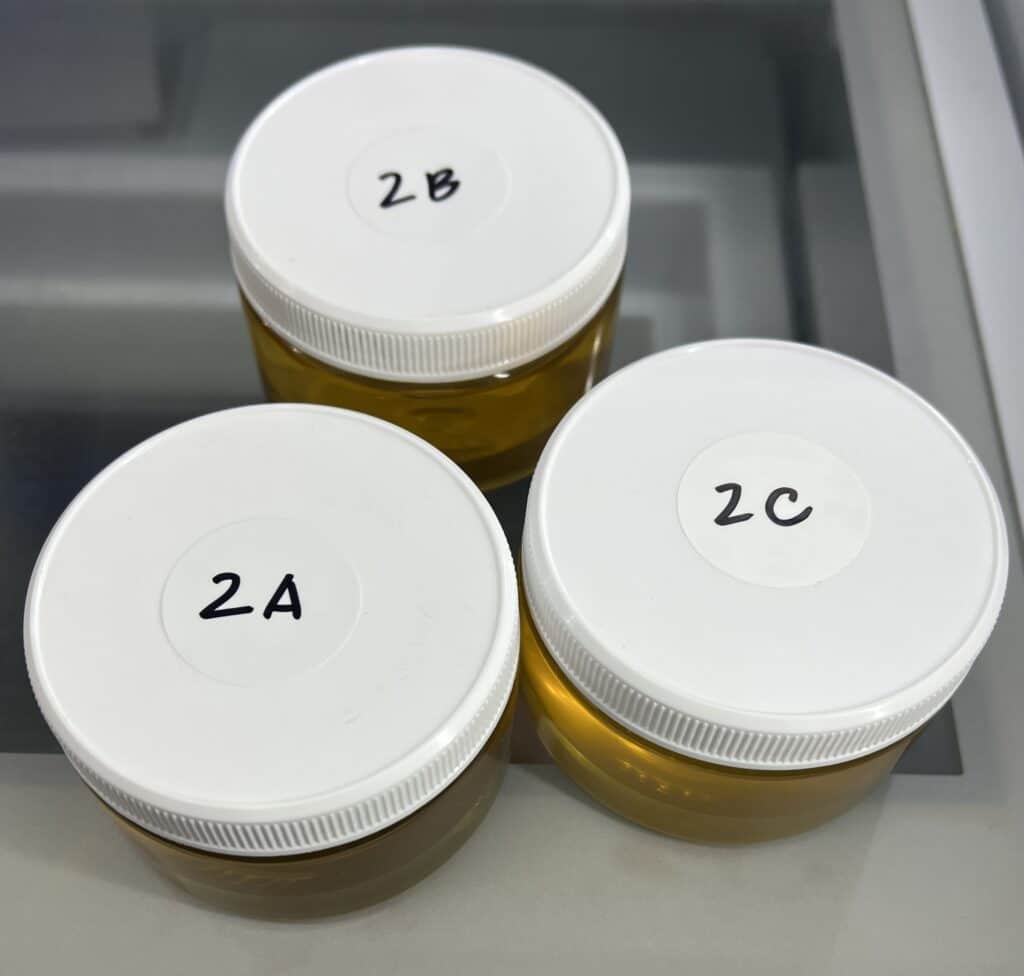
Then I put them all in jars. And this is where the experiment begins.
Experiment A – in the wrong way
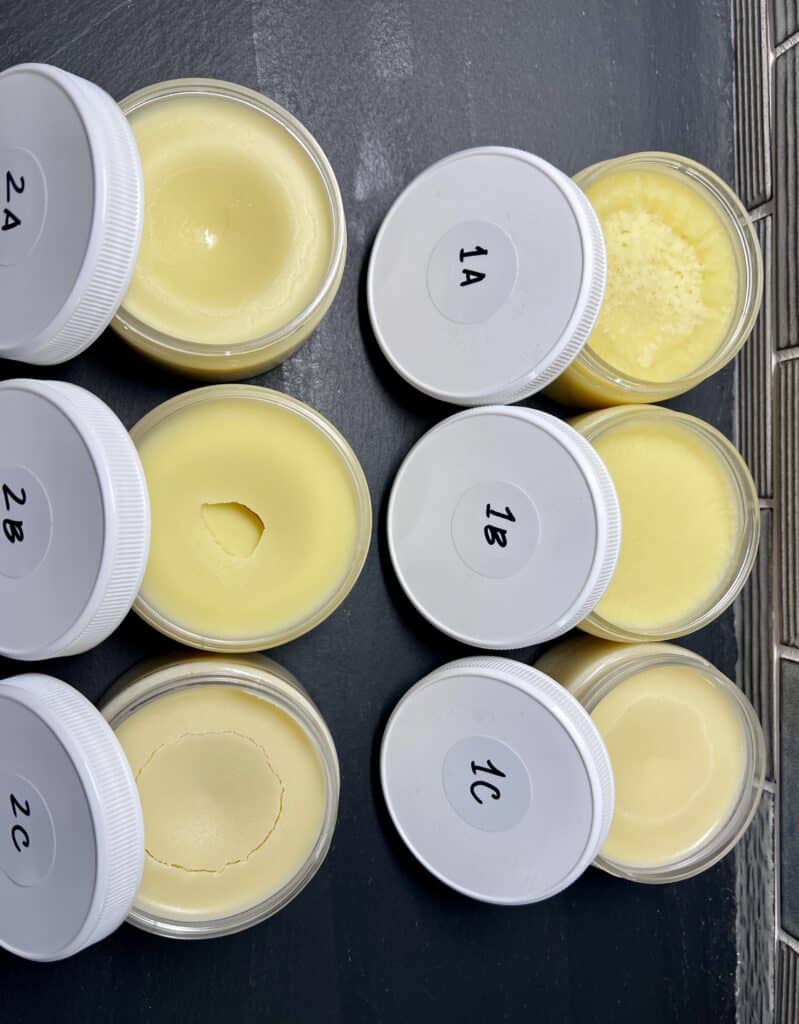
I placed one set of each of the 3 body butters, 1A, 1B, and 1C, on my kitchen counter to cool to room temperature. My house is kept at about 72F, but this would work just the same if your house temperature is between 50F and 80F (below or above that is not common unless you live in the arctic or rain forest and have a heating or cooling : / )


This gradual, slow cooling of your body butters creates a separation of the oiliest parts of your body butter, this will show up with sand all over your formula. Beeswax products will be similar, although beeswax is faster to cool, there will still be some impurity in the final result.
Experiment B – the right way
I placed the second batch of 3 body butters in the fridge (2A, 2B, 2C) and this allowed the ingredients to cool quickly, without giving the fat particles time to separate and become grainy.


The freezer can also be used for this step, but for this article I would like to stick to the simplest ways to do this process first.
Using frosting, whipping up your body butter, and getting more layered or complex compositions are easy once you master these basic steps.
In short, it’s all about how quickly you cool your body butters.


What if I do it the right way, but over time my product still gets grainy?
As I mentioned earlier, one cause for sandy body butters is temperature fluctuations when the product is stored or shipped.
If you follow the correct method above (experiment B), your product should be stable even if it melts a little, and your best option in this case is to place the partially melted body butter in the refrigerator for a few hours to set . back to its normal consistency. After that, you can keep it at room temperature. You can also check out my previous article on fixing grainy butter here.
That’s it, ladies and gentlemen.
I hope you found this helpful, please leave any questions or comments you have on this topic and go to town with any other tricks or tips you have for us DIY skincare fanatics 🙂
