
The border is not just a makeup trend – it is the secret sauce behind these cheekbones, jawlines, and fine -sized noses that see all over Instagram and red carpets.
But don’t worry – you don’t need a glam team to get into the magic. With the right products and some smart tricks, the outline can become your new favorite way to configure and determine your face.
The driver of our beginner will guide you on what is really the contour makeup, how it works and exactly what you need to create a soft, natural definition that seems to be illuminated in and in it, not to be confused. Let’s turn these features into your best corners.
What is the outline and how does it work?
Contour It is the art of using makeup to sculpt, determine and enhance the structure of your face by playing with shade and light. They are all about the illusion – the shades of violations create depth, pushing the areas back (such as the cavities of the cheeks or sides of your nose), while lighter tones point out and design forward (such as the tops of your cheekbones or your bridge).
Think of your face as a canvas and describe as your brush – mixing light and dark in the right places, create dimension, balance and a more sculpture, polished look.
Contour vs. Bronzing: Get to know the difference
It is easy to confuse the outline and block, but they serve completely different purposes in your makeup routine.
|
Contour |
Crap |
|
|---|---|---|
|
Purpose |
Adds structure and definition |
Adds warmth and shine |
|
Product tone |
Cool |
Heated |
|
Finish |
Riot police |
Often contains shine or radiant finish |
|
Place |
Backs cheeks, jaws, sides of nose, temples |
Mylana, Front, Nose Bridge, Chin |
|
Result |
Creates shadows and depth |
Imitates the appearance of a natural black |
|
When to use |
To sculpt and shape facial features |
To add healthy color and dimension |
Outline to set. Bronze to shine. Use both together for a balanced, dimensional look.
A quick border history
The outline has a long and exciting story that extends back centuries. He appeared for the first time in the world of theater, where the directors used heavy makeup to exaggerate facial features under the light lights. This helped the public to clearly see expressions from a distance, especially before the invention of modern lighting and high definition graphics.
At the beginning of the 20th century, Hollywood makeup artists adapted these techniques for the silver screen. The outline became essential for the definition of facial features in black and white films, where the fine shadows could or break a scene. The legendary stars such as Marlene Dietrich and Marilyn Monroe have benefited from the specialized sculptural appearance.
Fast forward for 2010, when social media, beauty influences and celebrities such as Kim Kardashian made the outline of a domestic term. YouTube lessons and Instagram trends took it from the background in daily makeup bags.
Today, the trend has softened – underlining the “soft sculpture” that enhances the natural characteristics with the thin, portable definition rather than dramatic lines.
Contour makeup essentials for beginners
Starting the outline journey? Here are the must-haves to sculpt and determine with ease:
Cream outline: For a natural, leather -like finish, choose a creamy formula such as the Fruit Pigmened® Cream Foundation. It is effortlessly mixed and gives you this smooth sculpture.
Dust outline: Set your cream products or use solo for a more buildable matte. The Fruit Pigmened® Powder Foundation offers excellent control to determine the features softly.
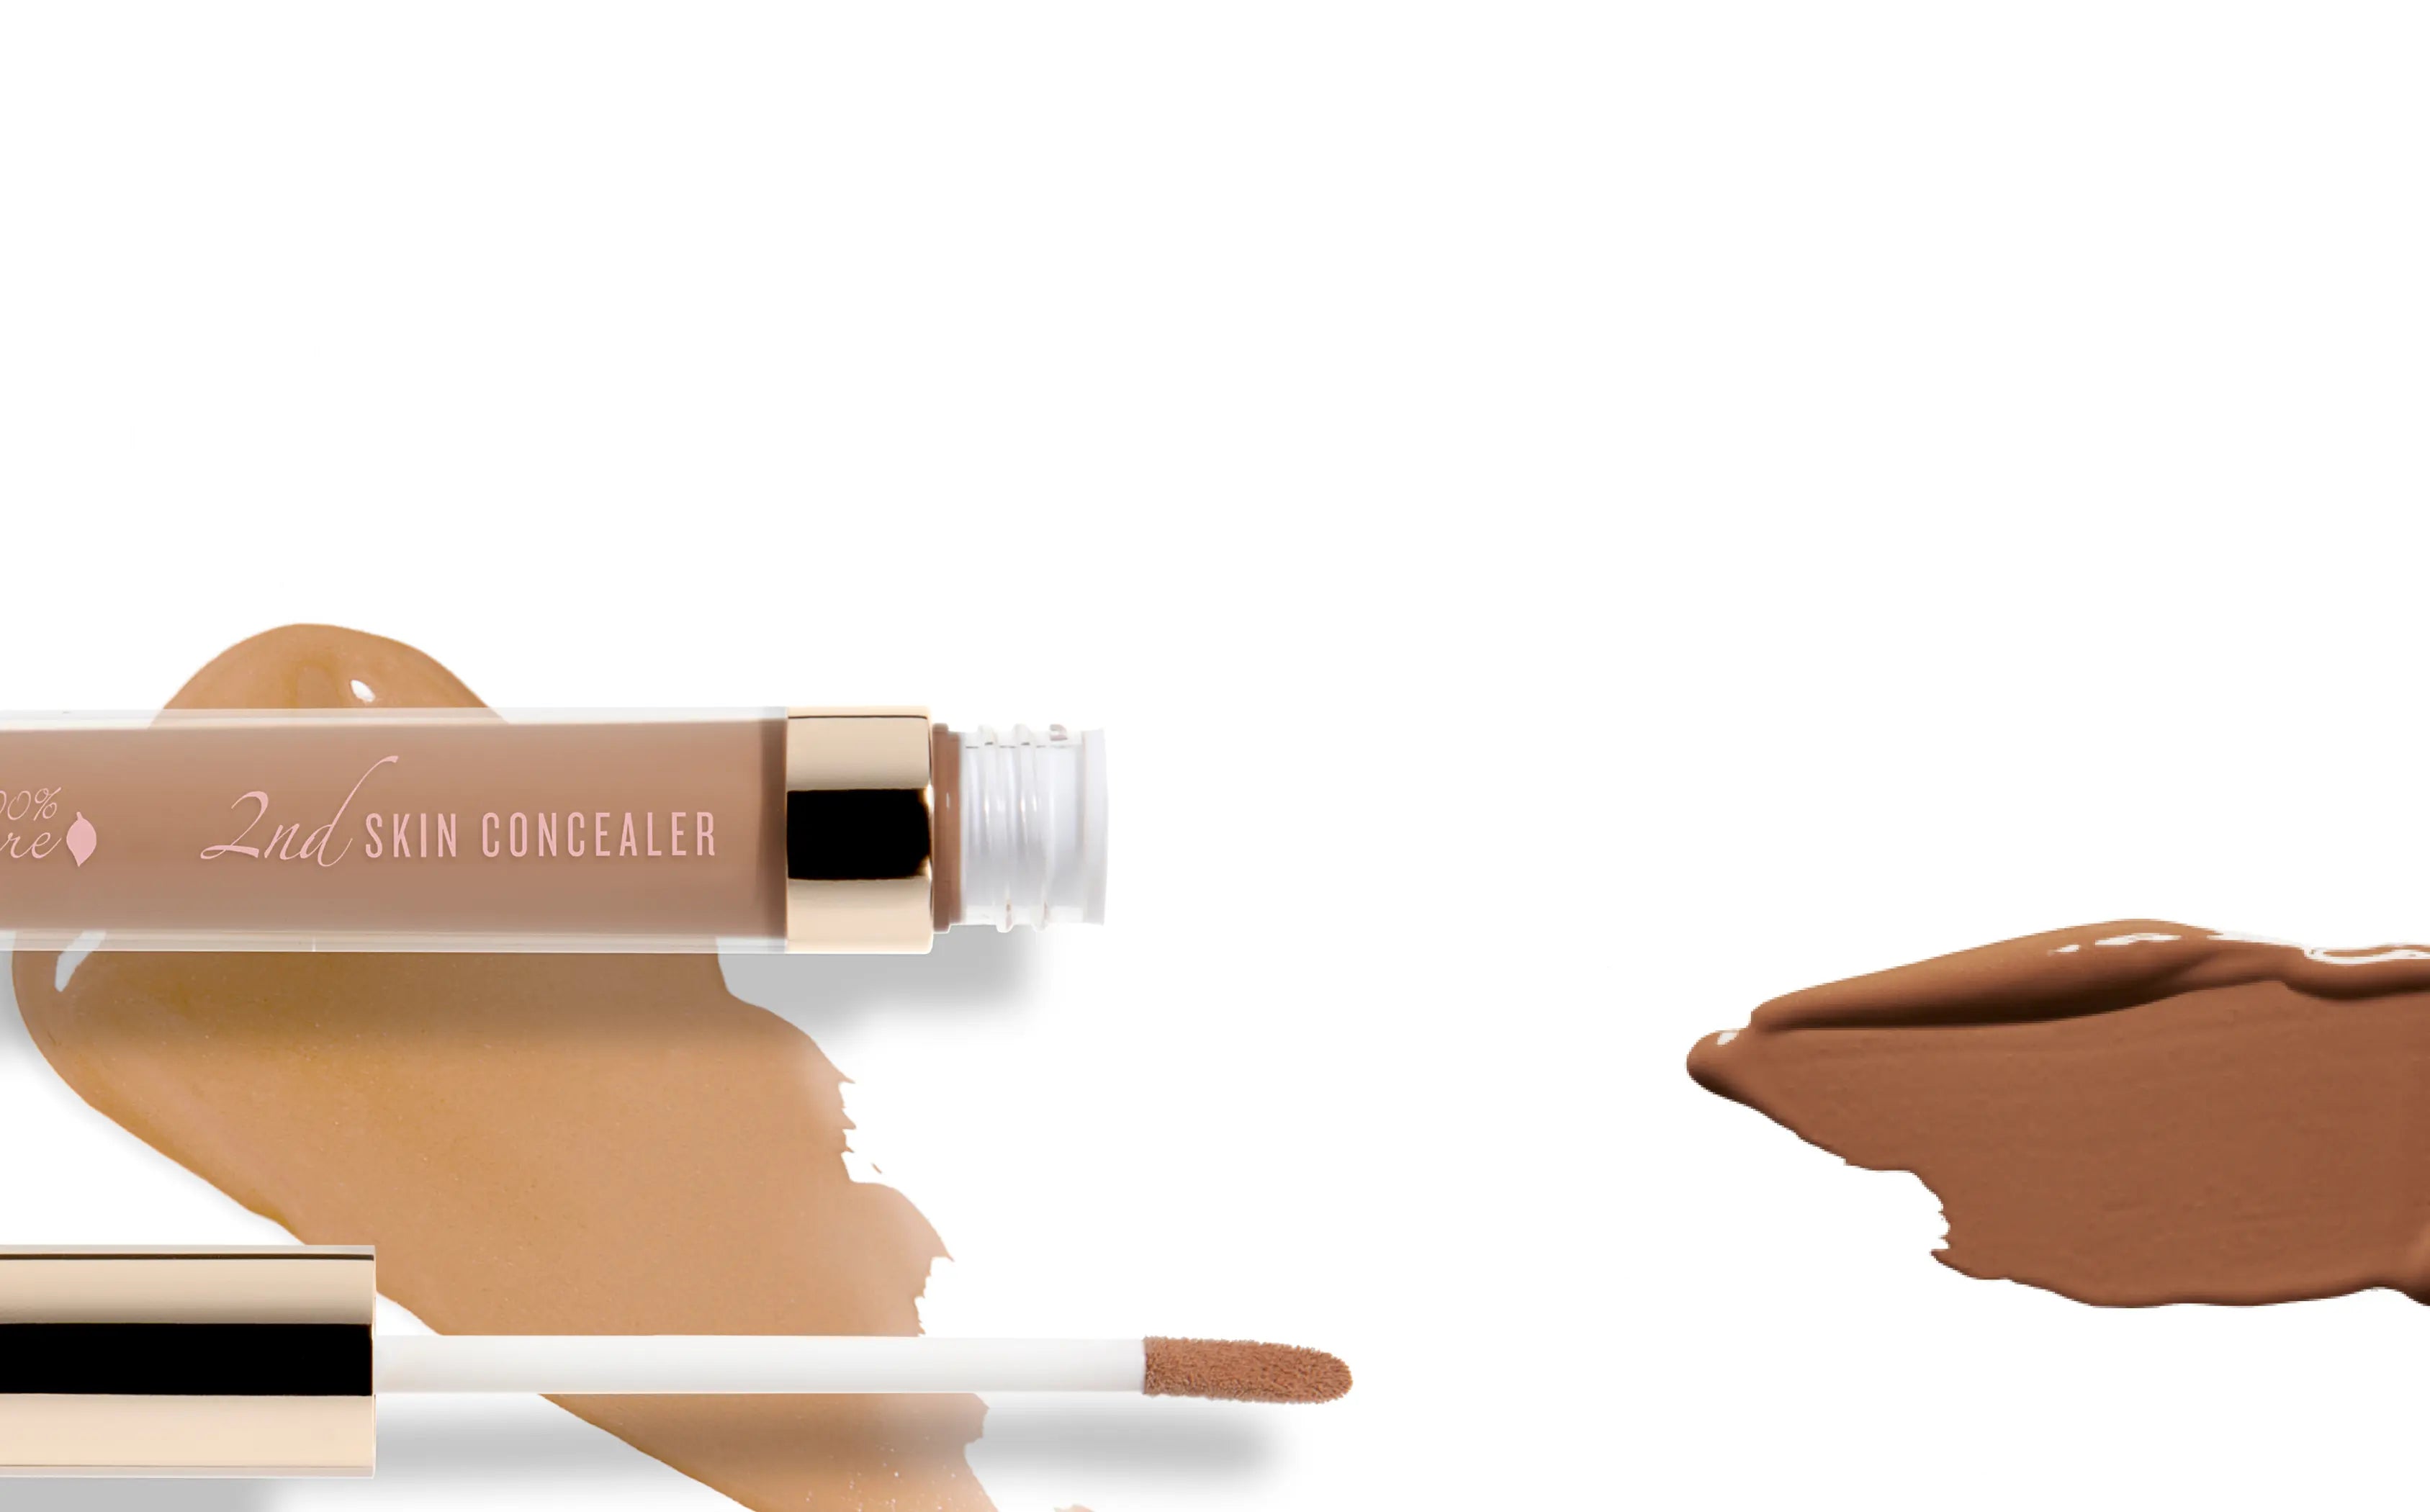
Concealer: Brightness is the key to contrast. PIGMENT® 2nd Skin Concealer is ideal for labeling under the eyes, forehead and T-Zone.
Contour tool: A good mixture makes all the difference. Blender off -the -off makeup helps melt the product on the skin for a flawless finish without streaks.
Bronne: Once we’ve shaped, add warmth with the colored cocoa. It sets beautifully over the outline for that healthy glow.
With these basics, you are ready to sculpture as professionally.
How to choose the correct shade of the contour
The choice of perfect contour shadow makes the whole difference. Aim for a color is 1-2 shades deeper than your institution to create natural shadows without hard contrast. For the most realistic result, go for a cool or neutral undertonethat mimics the natural shadows on your face. Shadow Proposals per tone of the skin:
Right skin: Choose a soft taupe
Middle skin: Go with a silent, soft coffee
Deep skin: Choose a rich espresso or a deep tone of chocolate
Beginner contour map: Where to apply it
Knowing where to place your outline makes all the difference. Here is a simple guide to help you sculpture as a professional:
Koukona: Apply just under the dough, not directly on it. This creates an elevated, more defined look without hard lines.
Forehead: Combine the outline around the edges of your hair. This visually helps to shorten a larger front and brings balance to your features.
Jawline: Wipe out the border along the underside of your jaw to determine and sharpen your jaw – large for additional structure.
Nose (optional): For a thinner look, slightly describe the sides of your nose and combine well. This step is optional, but it can add extra definition.
Focus on mixing and building slowly for a natural sculpture finish that flatters the shape of your face.
Step by step contour apply
- Start with Fruit Pigmened® 2nd Skin Foundation as your base
- Shine under the eyes, forehead and chin with concealer
- Apply contour cream or colored by cocoa To sculpture
- Combine seamlessly with the makeup blender out of Latex
- Set everything in place using the dust institution
Optional: Add a PDO blade or highlighter to cheekbones, nose bridge and Cupid bow for shine
Contour tips for different face shapes
Each face shape benefits from a slightly different contour approach. Here’s how to adjust your technique:
Round face
Focusing contour under the cheekbones and along the sides of the medium to create the illusion of length and definition.
Square face
Soften the strong angles with the outline around the edges of the medium and the angles of the jaw.
Heart -shaped face
Apply the border along the sides of the medium to balance the width and slightly under the chin to soften a intense look.
Oval face
Keep the simple -blinding outline under the cheekbones and around the temples is enough to enhance your natural structure.
Common mistakes for beginners
Avoid these traps to keep your polished and natural outline:
- Using bronzer instead of contours -bronzer adds warmth, not shadows
- Bypassing the mixing lines -winning the purpose of the contour
- Choosing a shadow that is very dark or very warm – must imitate a natural shade
- Placing the contour very low or its capture downward – can make the face look Droopy
Combine, build gradually and always check your outline in natural light!
When to use contour makeup
The contour makeup is not only for red carpets – it can be adapted to fit any occasion. Here is when and how to use it:
Daily wear: Go for light sculpture to accurately determine your features. A touch under the cheekbones and around the forehead adds a natural dimension without looking too much.
Events and photos: Take it out with a more defined border to prevent your features from appearing flat or rinsed under bright lights and cameras.
Special cases: Don’t be afraid to build tension. Weddings, parties or nightlife overnight call for more bold, more dramatic sculptures that stand out in both the person and the images.
With the correct technique, the outline can be effortlessly adapted from casual to full glam -just up or down dial based on the moment.
Hug your natural outline
The outline is not about changing your face – it is about enhancing the natural beauty you already have. With the right products and a little practice, anyone can use the outline to highlight their best features and enhance their trust.
Whether you are targeting a thin lift or a more defined sculpture, the border helps you embrace the unique shape and shine from within. Choose clean, fruits that work with your skin, not against it, for a glance that is both healthy and radiation. Let your features shine and enhance your natural beauty with every stroke.
Frequently Asked Questions (FAQS)
What really does the contour makeup do?
The outline is used to create the illusion of the most defined facial features. By applying darker shades to areas you want to retreat (such as the sides of the nose or under the cheekbones) and lighter shades in areas you want to highlight (such as dough or medium tops), you can slip and improve your natural shape.
Do I need to apply primer before the outline?
Yes! Primer creates a smooth base for your makeup, helping it last longer and apply more evenly. It ensures that your contour products are combined seamlessly on your skin without being installed in fine lines or pores.
What is the difference between concealer and institution in the outline?
The foundation is commonly used to create a uniform base and to match your natural skin tone, while the concealer is usually lighter and is used to illuminate areas such as the area below the eye or the T. During the contour, the concealer can be used to emphasize, while the foundation and the products add.
Can I describe with the dust institution?
Yes! The foundation of dust can be used for the outline, especially if you prefer a matte finish. To describe with dust, use a shade 1-2 shades darker than the tone of your skin for shadow areas and a lighter shade to highlight.
Which tools are the best for mixing contour makeup?
The best tools to mix the contour are makeup sponges or brushes designed for precise application and mixing. A blender off -the -day makeup works perfectly to combine the outline of the skin without streaks, while a fluffy contour brush can help you combine dust contours for a soft, natural finish.